Miranum Console Quickstart Guide
Miranum Console is one component of the Miranum IDE.
It is a user interface for Miranum CLI that assists you in the creation of a new digitization project and the generation
of new process artifacts.
Create a new Project
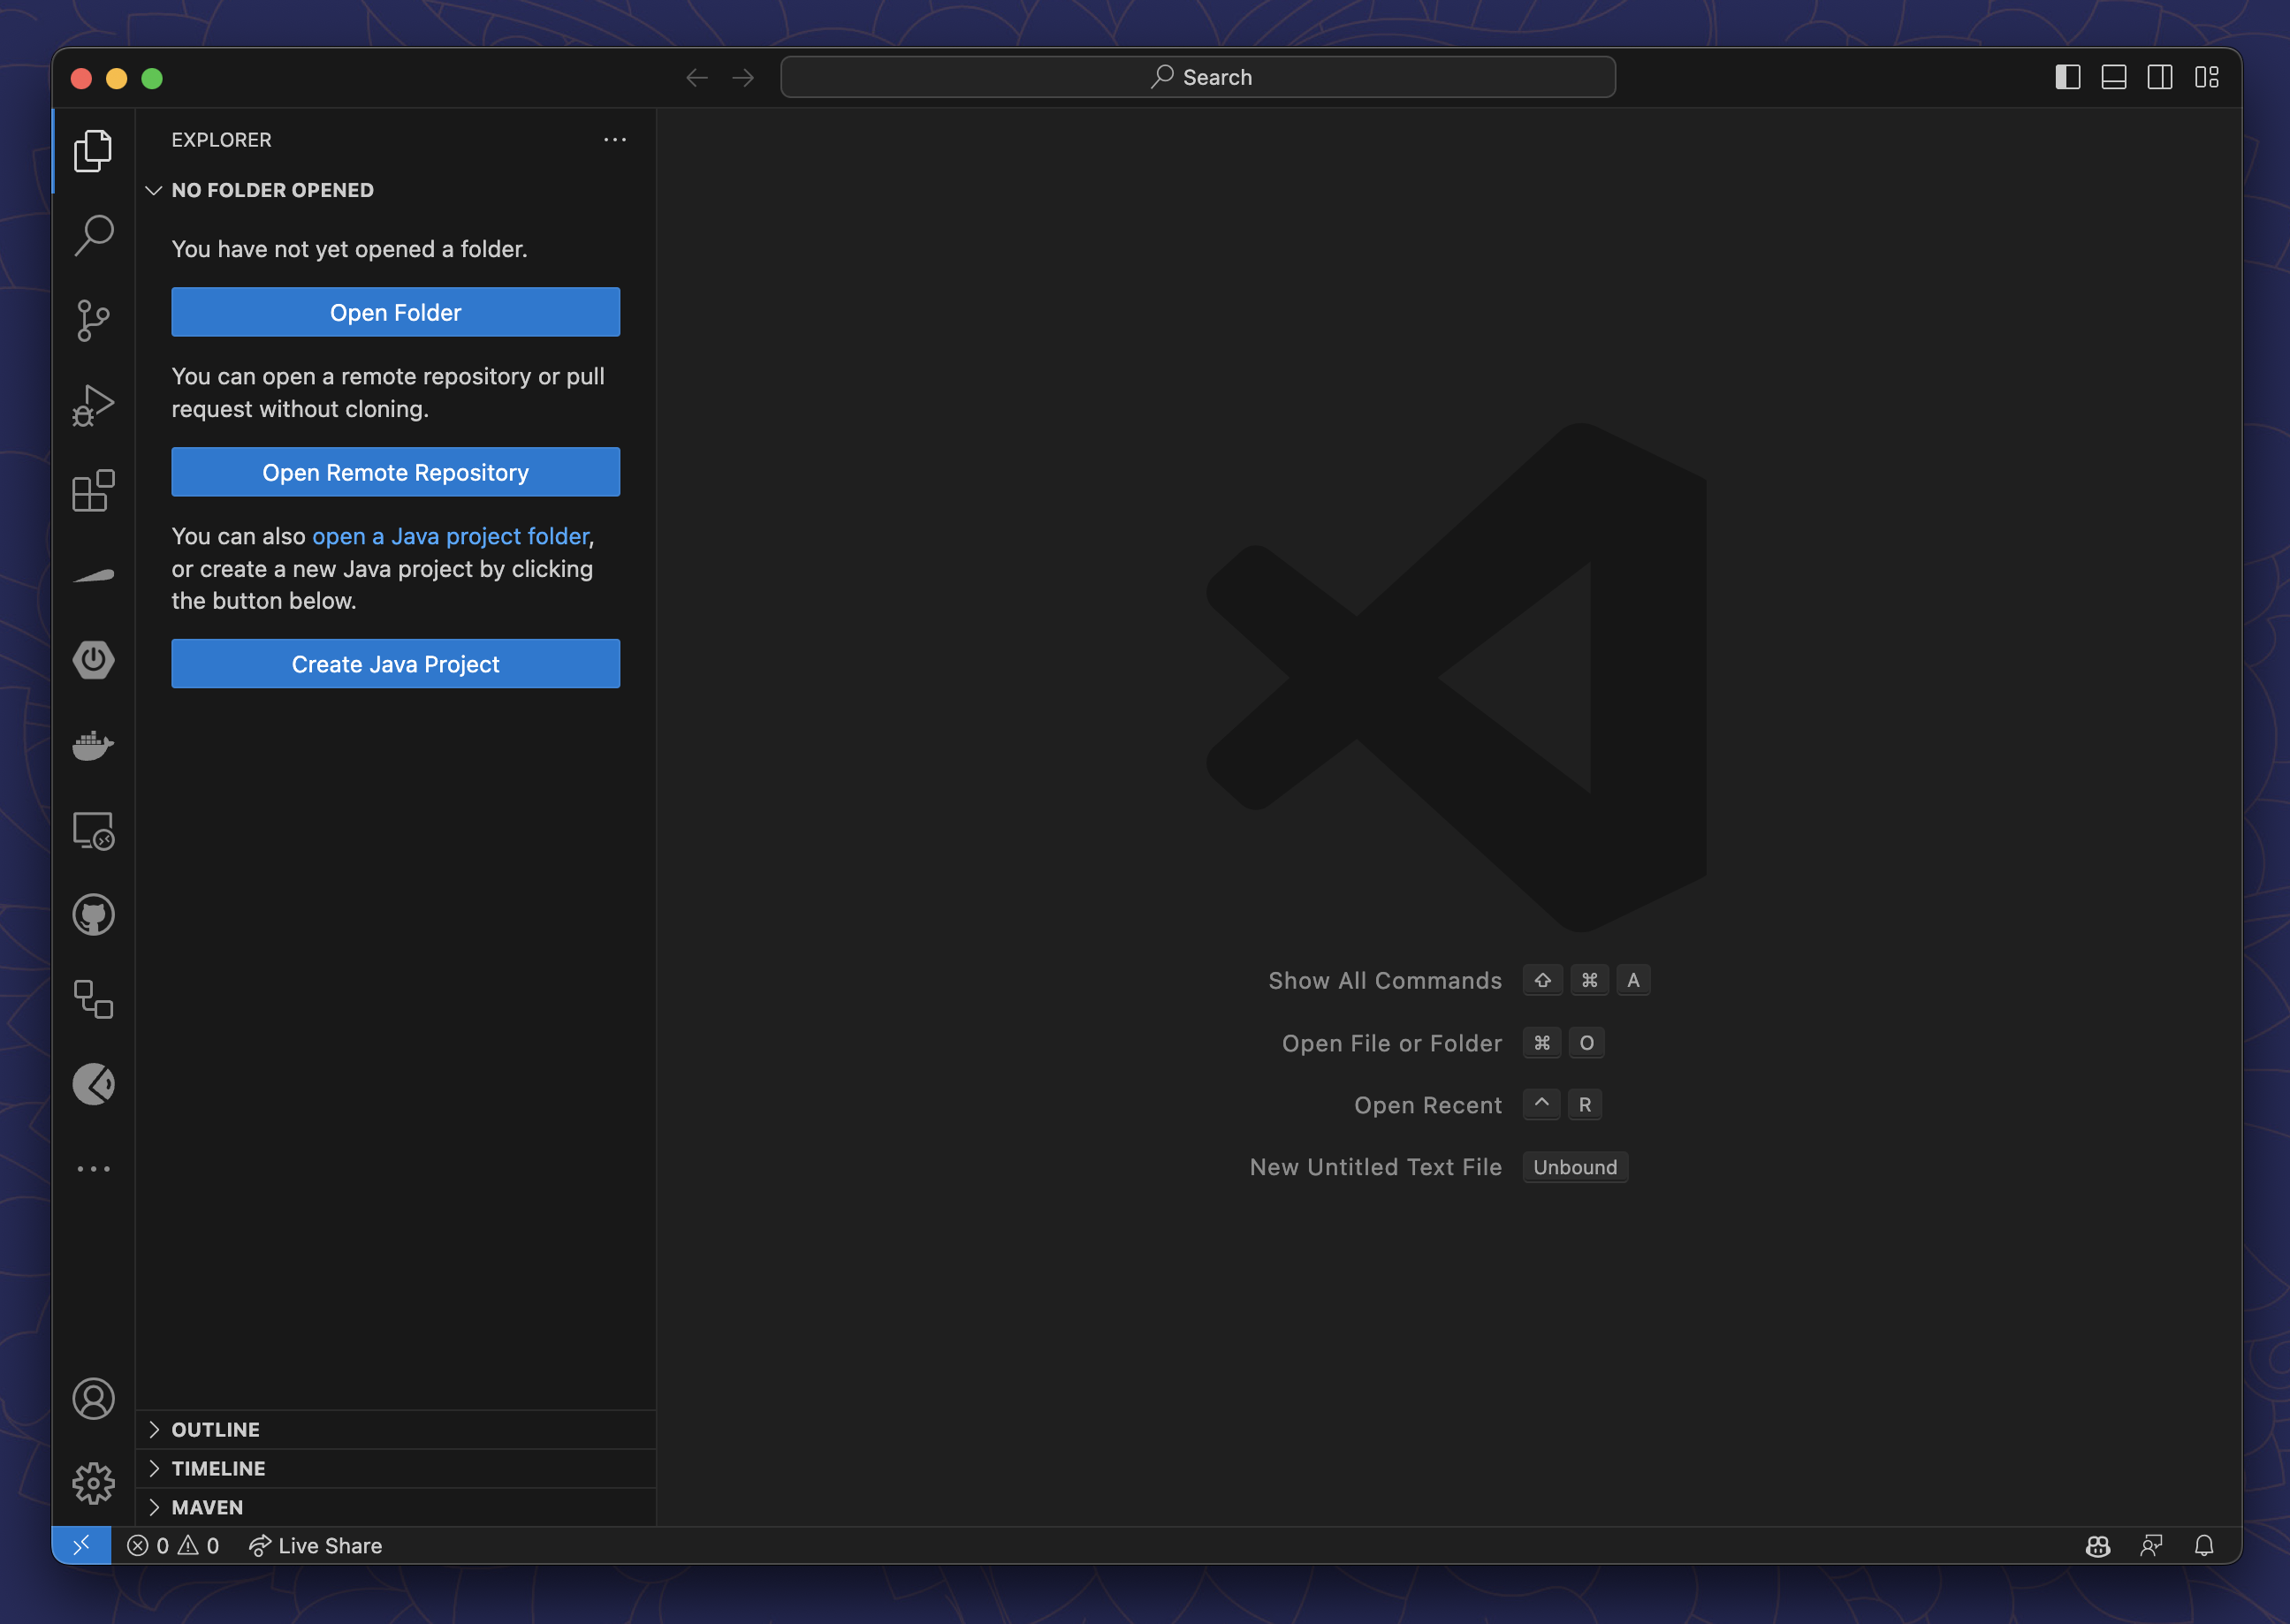
We start with an empty workspace in VS Code. So your screen should look something like this:
To create a new project, follow these steps:
- Select the Miranum Console view in the Activity Bar on the left side of VS Code.
- Click on
Generate a new projectin the bottom left corner of the view. - Enter a name for your project.
- Select a location for your project.
- Click on
Generate.
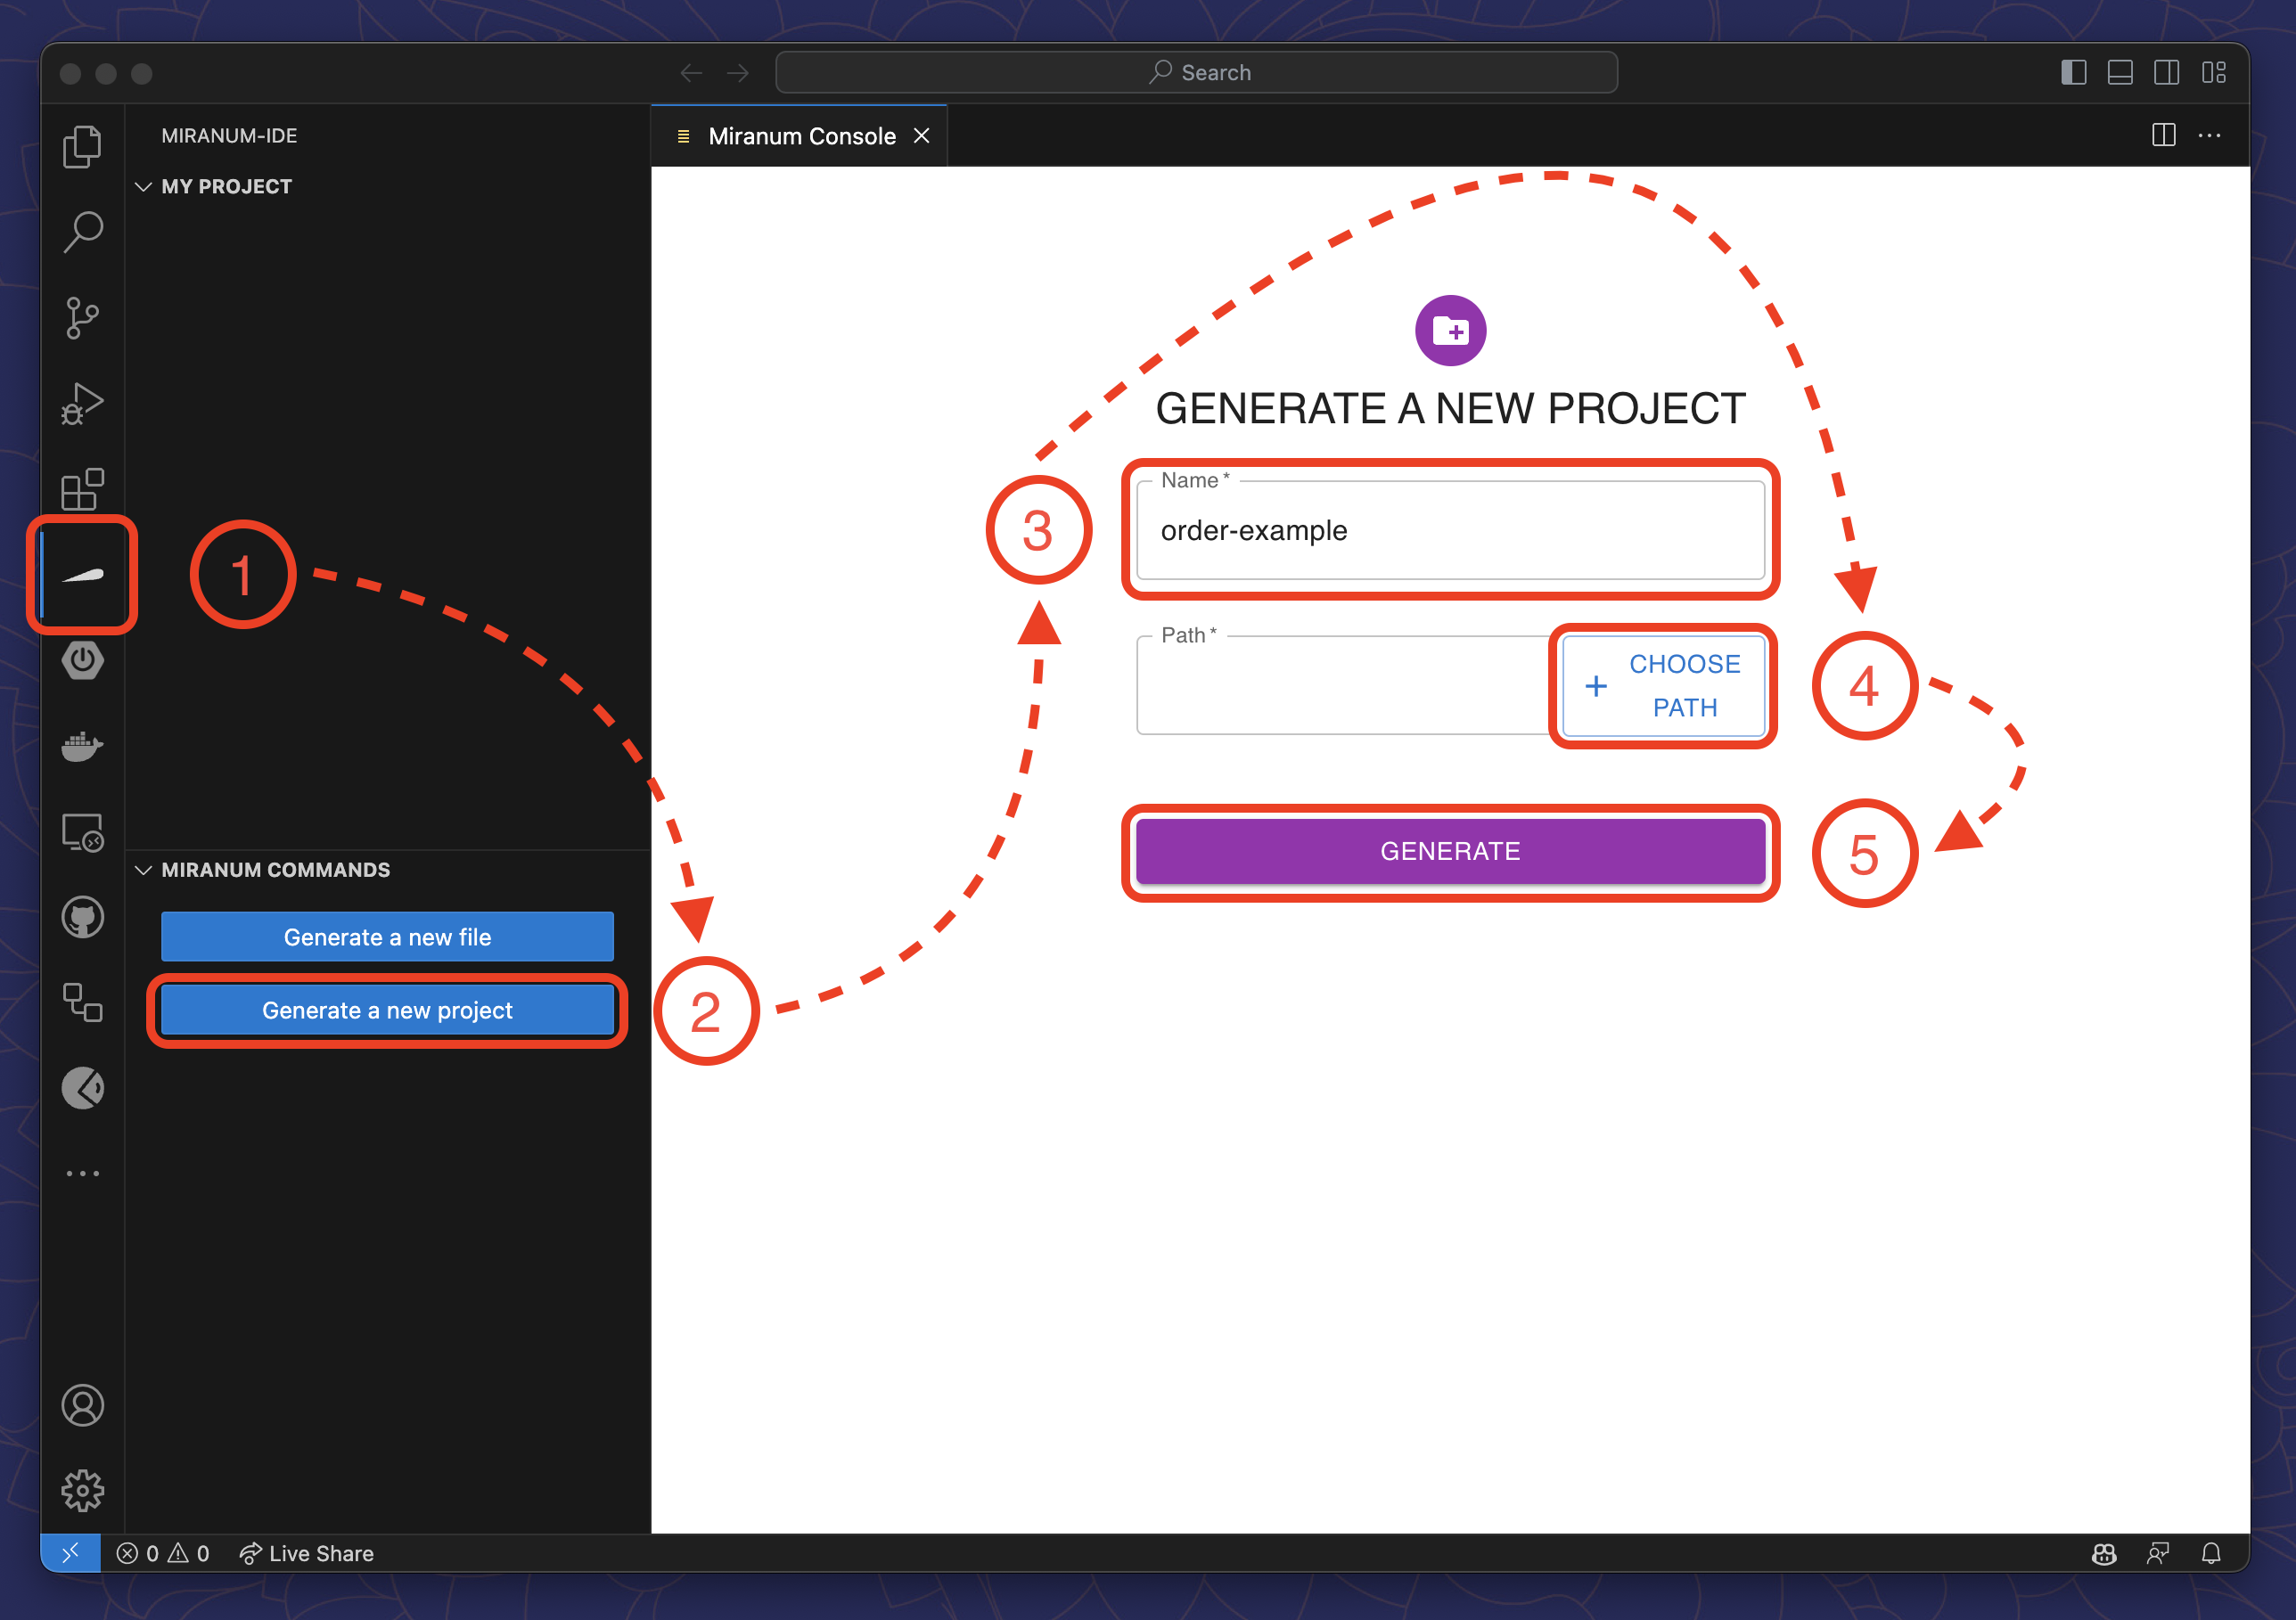
After a few seconds, the project and workspace are created.
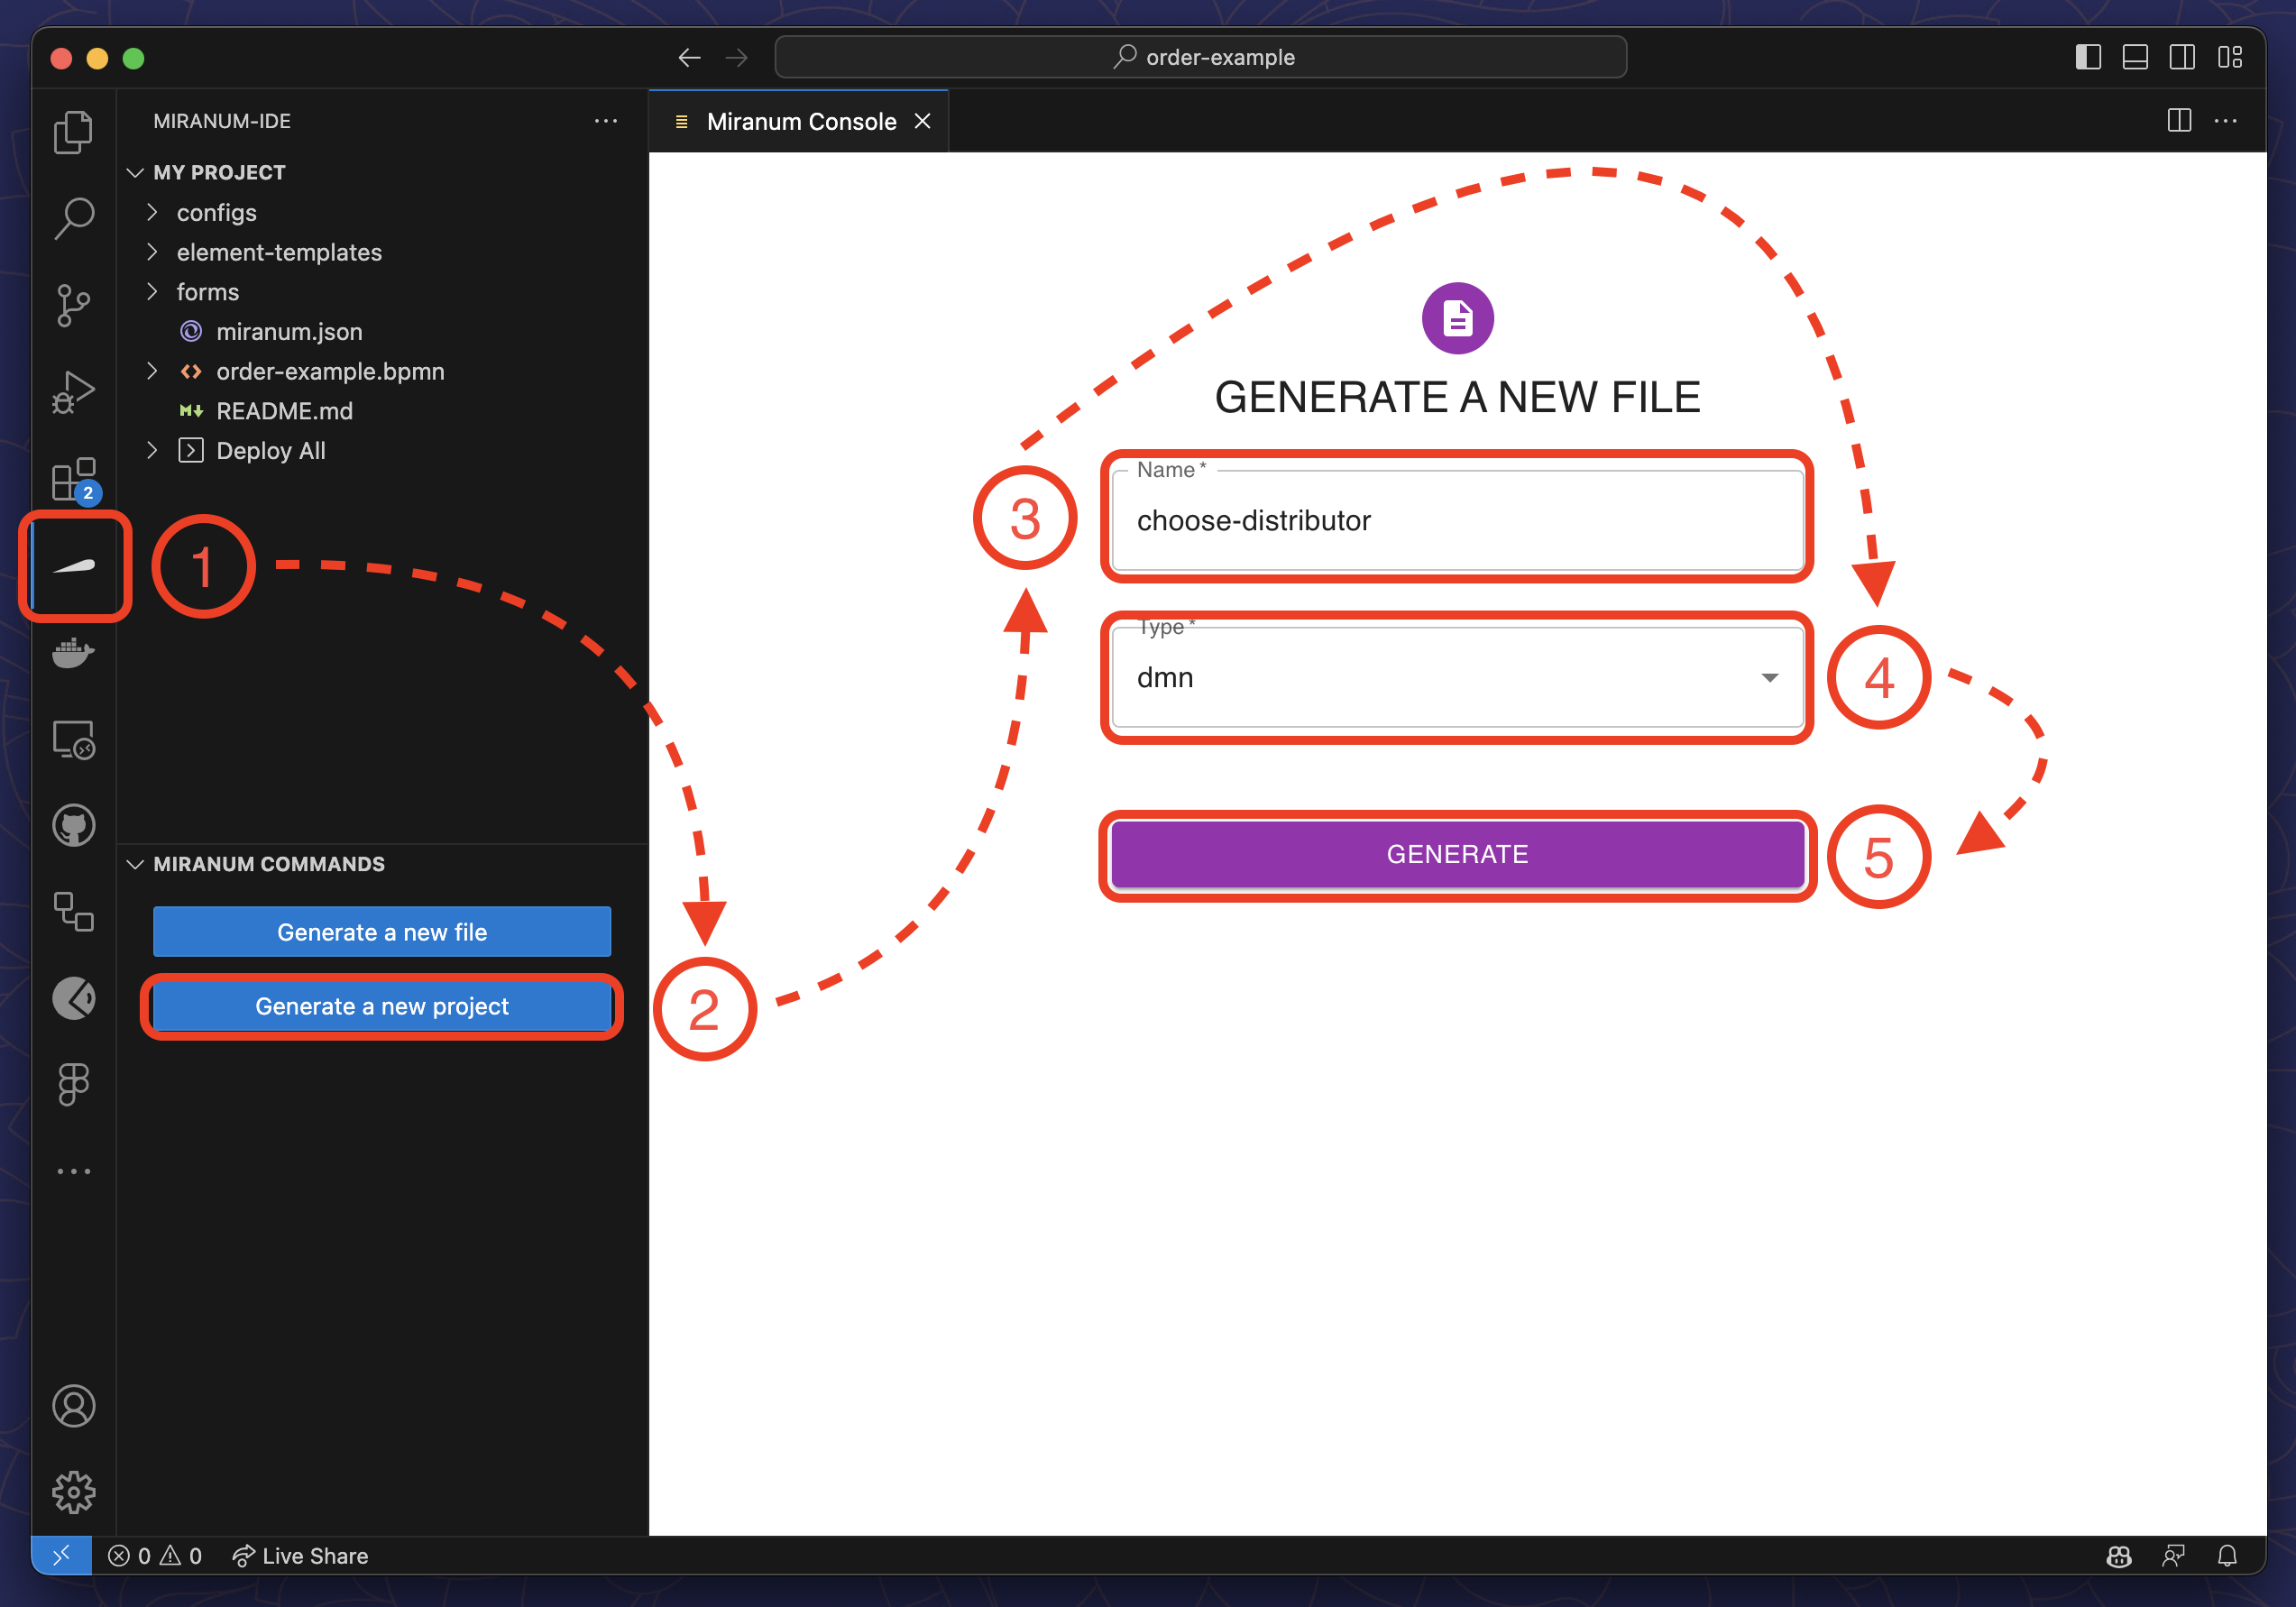
Miranum Console will generate the following files and folders:
BPMN diagrams must be created for the process engine they intend to be deployed on. Right now (v0.5.3) the generated BPMN diagrams are only compatible with Camunda 7.
miranum.json- The project configuration file.bpmn- The BPMN diagram for Camunda 7/forms- The folder for your forms/element-templates- The folder for your element templates/configs- The folder for your configuration files
We will explore some of these files and folders in more detail in the following guides.
Generate a Process Artifact
If your project needs more artifacts, you can generate them with Miranum Console.
- Select the Miranum Console view in the Activity Bar on the left side of VS Code.
- Click on
Generate a new filein the bottom left corner of the view. - Enter a file name
- Select the type of the file you want to generate
- Click on
Generate
Deploy a Process
Miranum Console has a build in feature to deploy your artifacts within VS Code. However, this feature is not up-to-date and needs to be overhauled. You can still use the Miranum CLI to deploy your artifacts.
The documentation for the Miranum CLI can be found here.